As a Shopify store owner, you may find that the default product description placement on the right side of the page doesn’t always work well, especially when you have a lot of content. In this tutorial, I’ll show you how to move Shopify product description under image, creating a more balanced and visually appealing layout for your product pages. This method works with the Dawn theme and should be applicable to other free themes as well.
Table of Contents
Access the Shopify Theme Editor
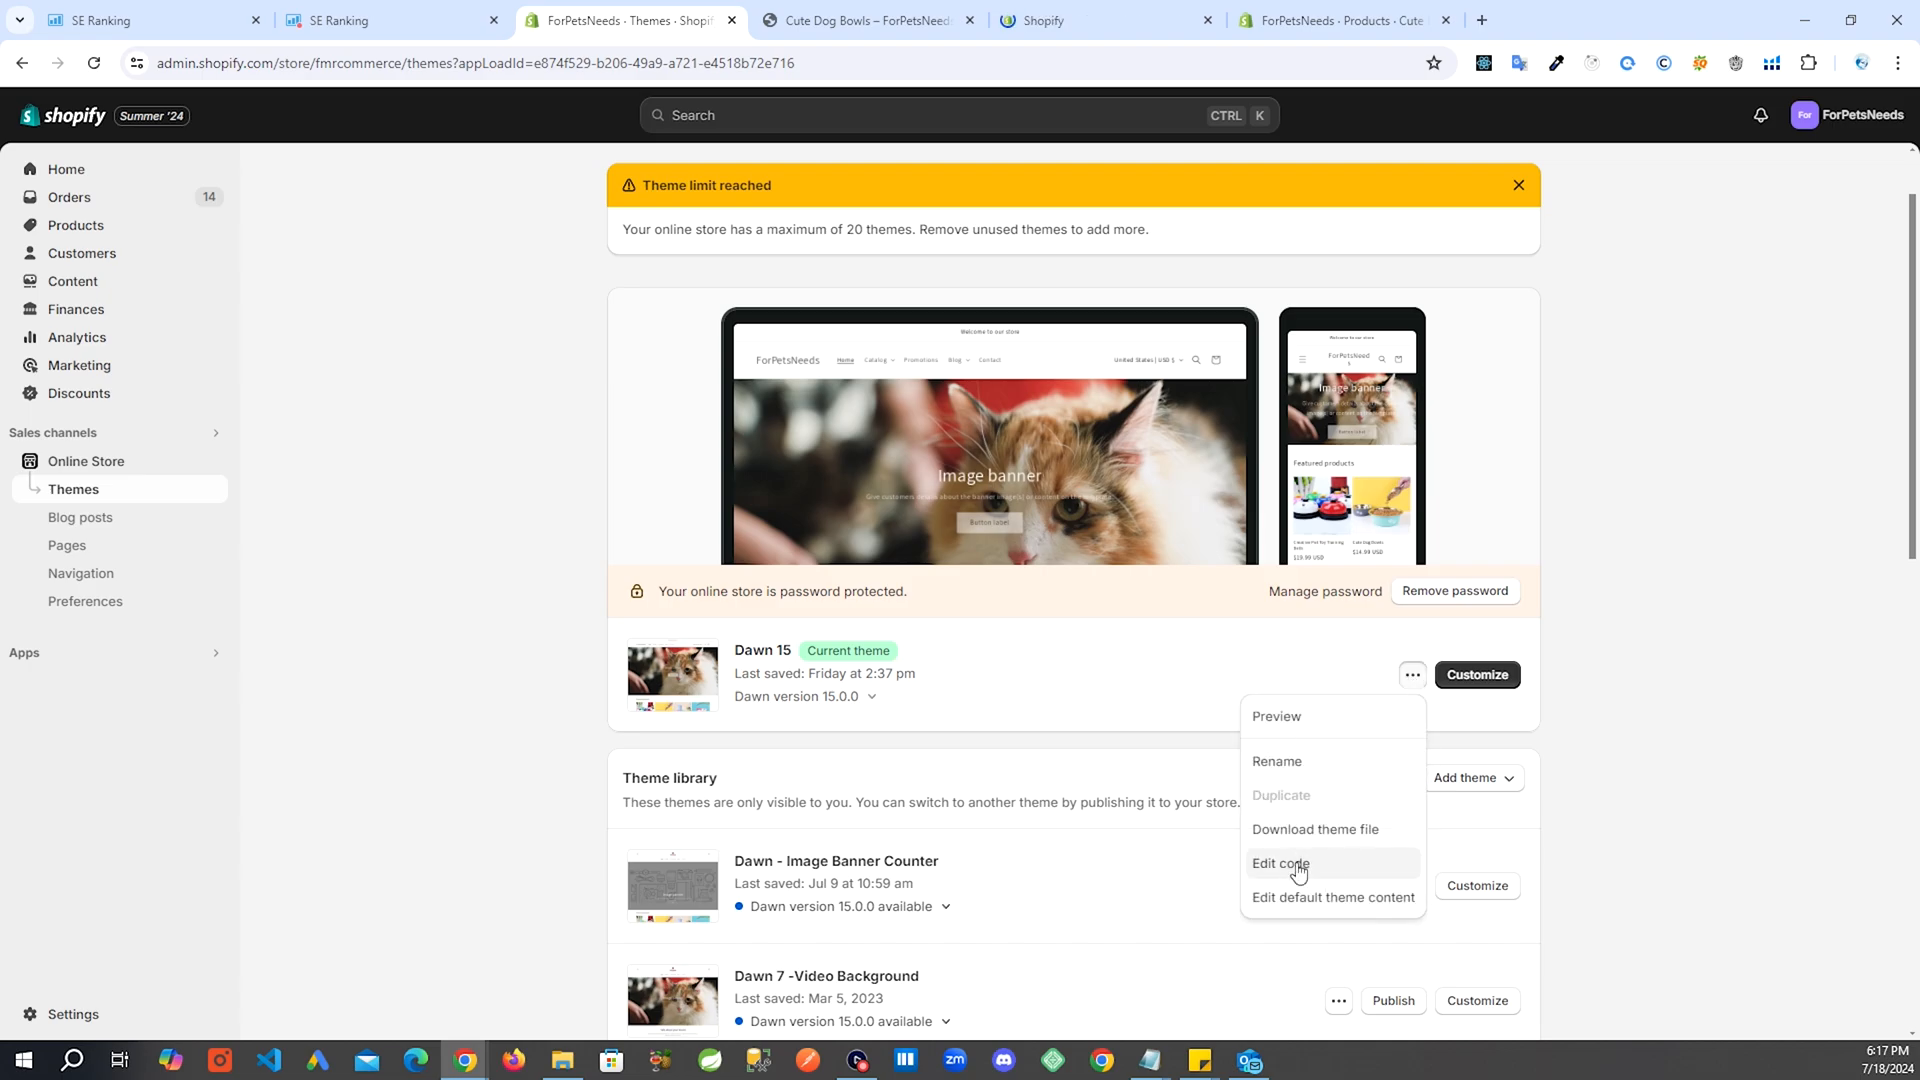
To begin the process of moving your product description, we need to access the Shopify theme editor. This is where we’ll make the necessary code changes to achieve our desired layout.
- Log in to your Shopify admin panel
- Navigate to Online Store
- Click “…” on your current theme
- Select “Edit code” from the dropdown menu
Locate the Product Template File
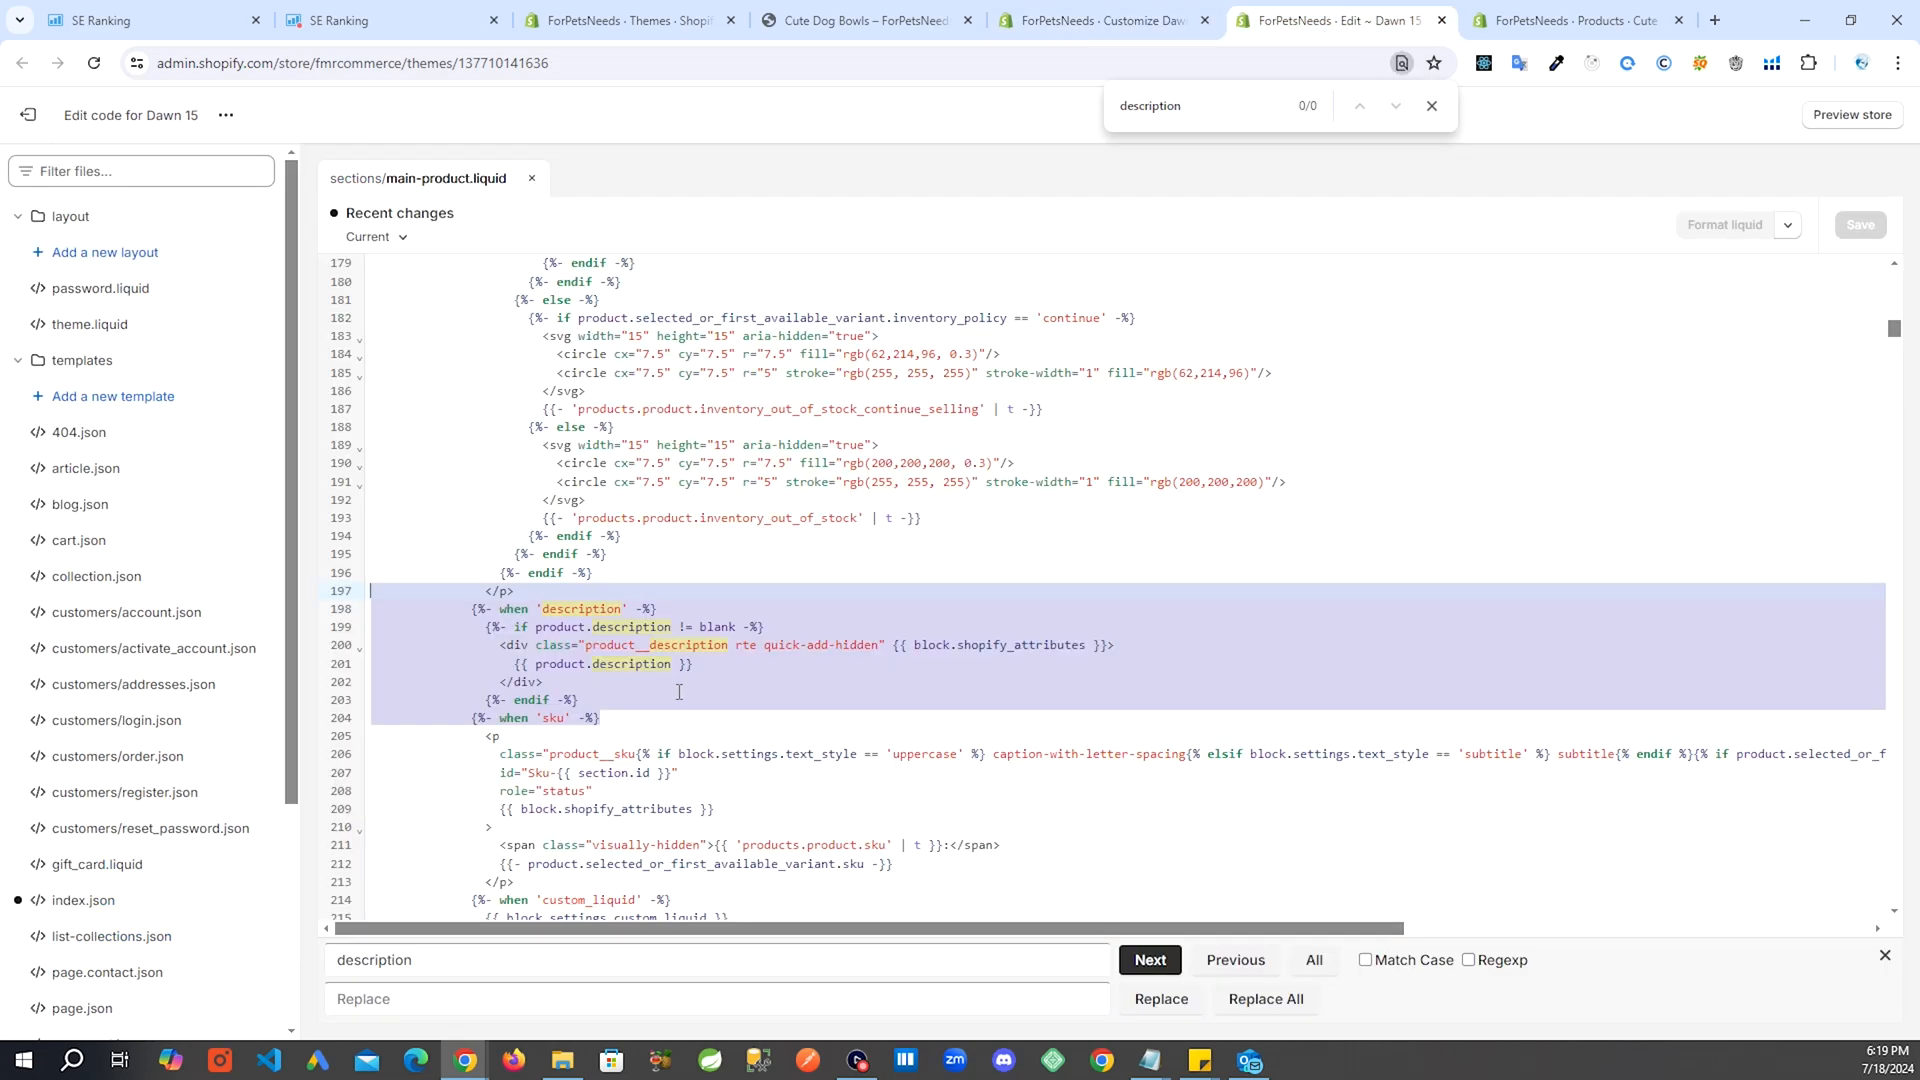
Once in the theme editor, we need to find the main product template file. This file controls the layout of your product pages.
- In the theme editor, search for “main-product.liquid”
- This file should be located in the Sections folder
- Open the file to edit its contents
Steps to Move the Whole Description
Step1: Disable the Default Description
Before we add our new description placement, it’s a good idea to disable the default description to avoid duplication.
- In the theme customizer, go to Product Information
- Find the Description option and hide it
- This will temporarily remove the description from the page
Step 2: Add New Description Code
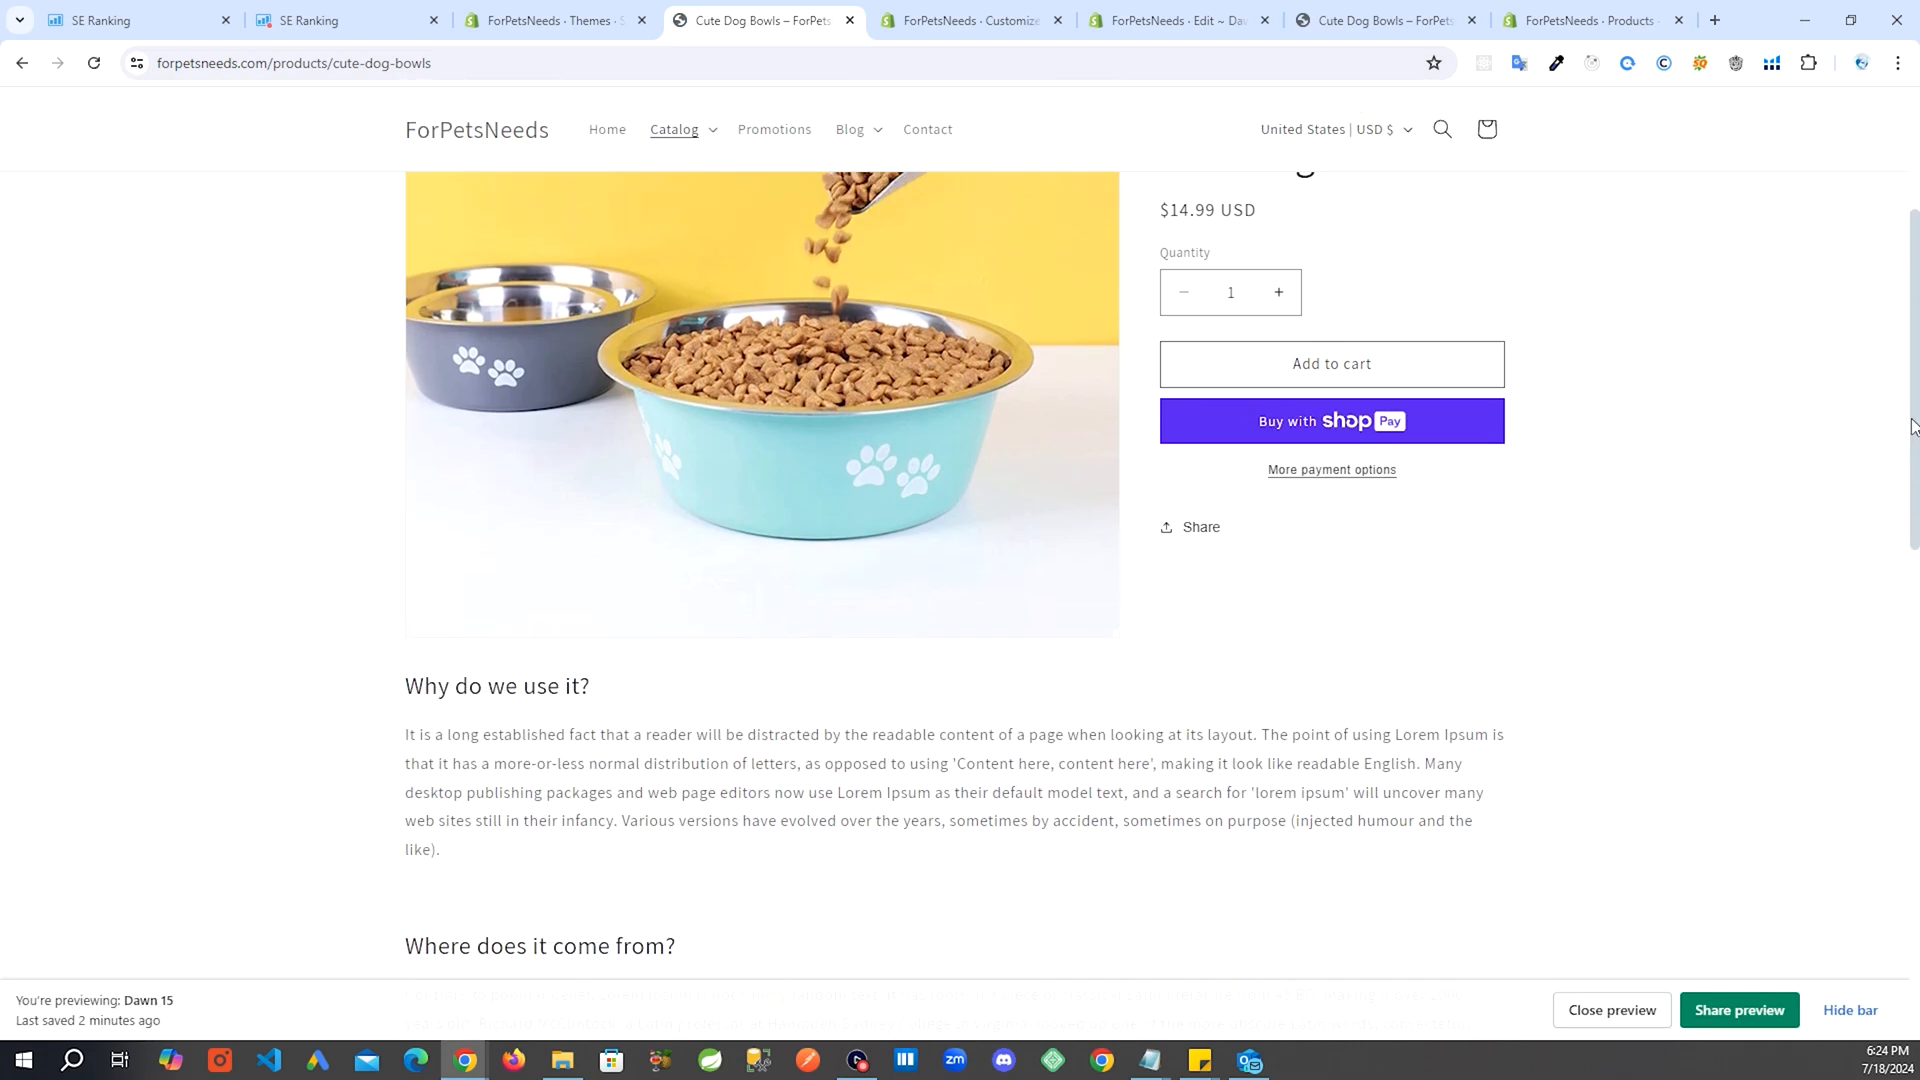
Now, we’ll add the code that will display our product description in the new location, under the product image.
- In the main-product.liquid file, scroll to the bottom
- Find the closing tag for “product-info”
- Add a new line after this tag
- Paste the following code:
{%- if product.description != blank -%}
  <div class="page-width">
    <div class="product__description rte quick-add-hidden" {{ block.shopify_attributes }}>
      {{ product.description }}
    </div>
  </div>
Split the Description
Step 1: Modify the Prodcuct Description
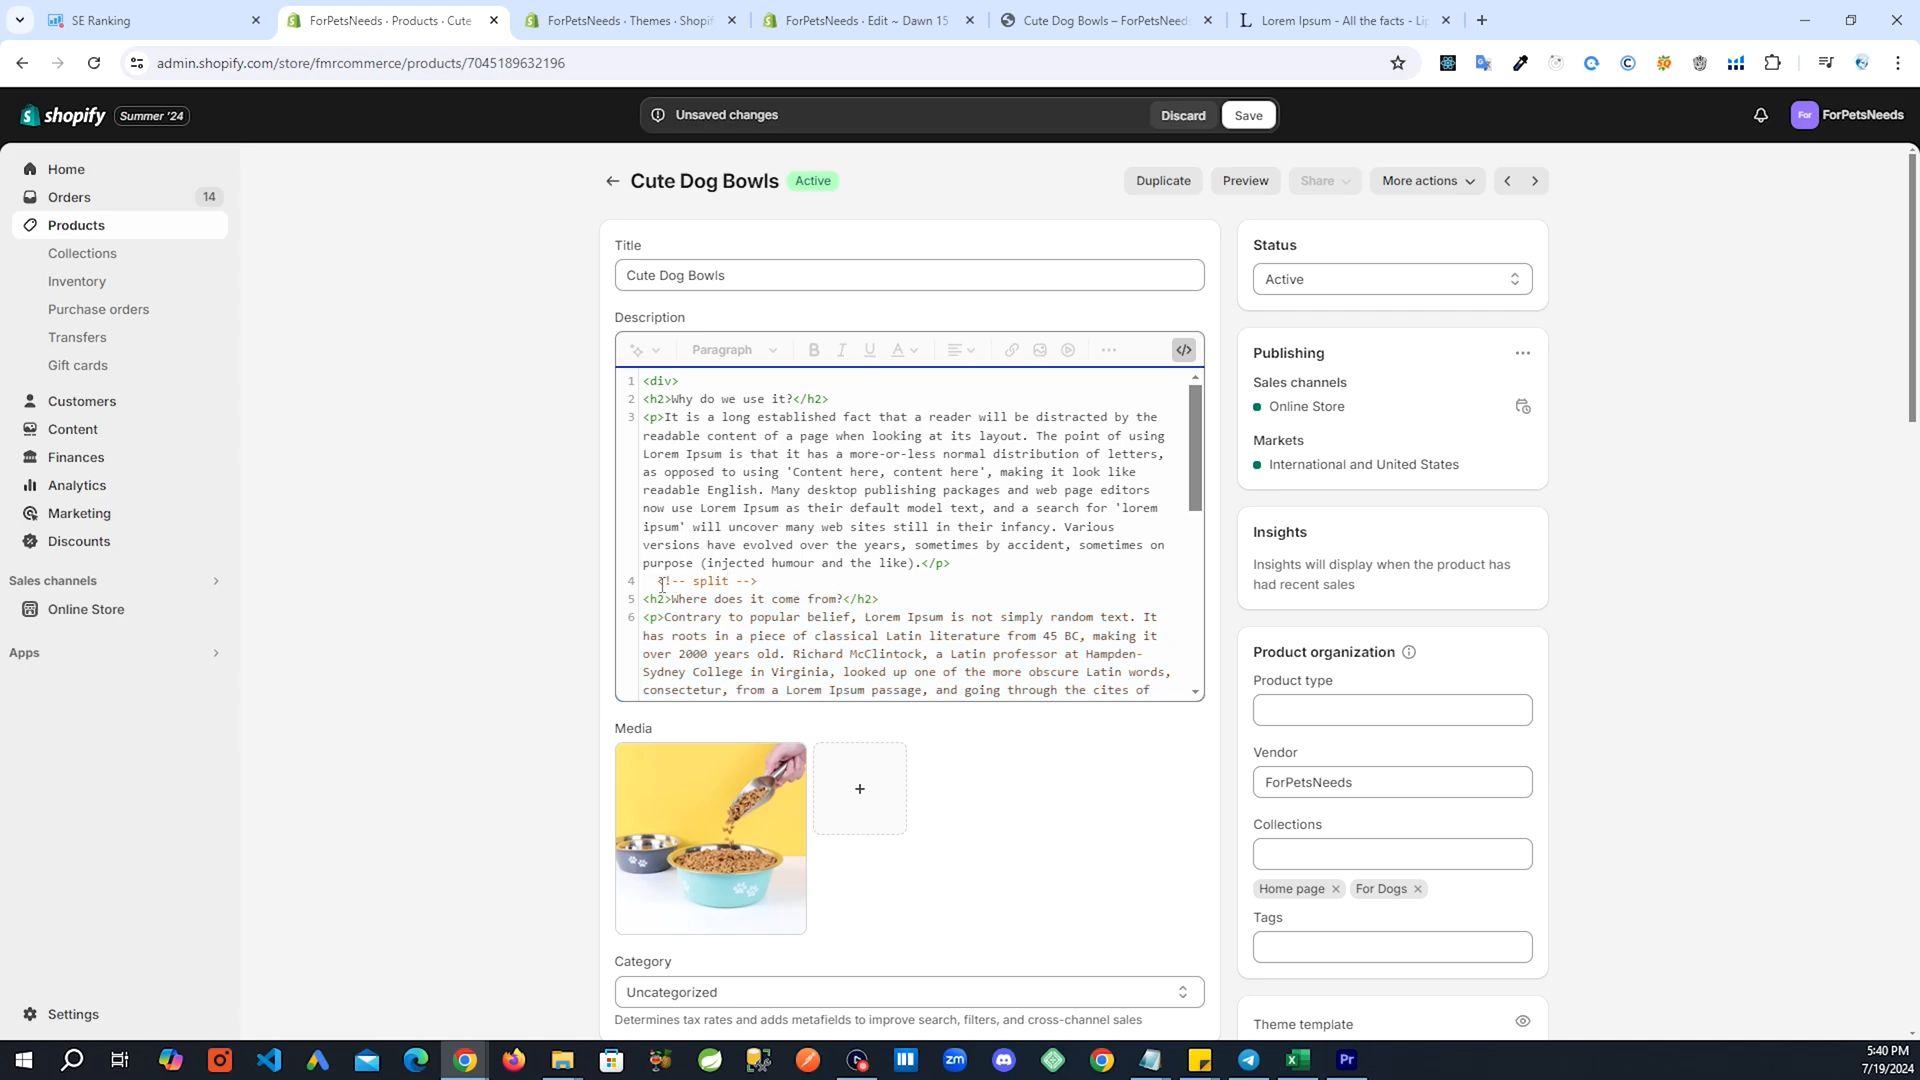
If you want to keep some text in the original location and move only part of the description under the image, we can implement a split description feature.
- Go to your product editor in Shopify admin
- Click “Show HTML” in the description editor
- After the first paragraph, add this comment:
Step 2: Modify the Description Code
Now we need to update our code to handle the split description. We’ll modify both the original description location and our new under-image location.
- In main-product.liquid, find the original description code
- Replace it with this:
{%- if product.description != blank -%}
  <div class="product__description rte quick-add-hidden" {{     block.shopify_attributes }}>
   {{ product.description | split: '<!--split-->' | first }}
     </div>
 {%- endif -%}
Then, update the code we added under the image:
{%- if product.description != blank -%}
  <div class="page-width">
    <div class="product__description rte quick-add-hidden" {{ block.shopify_attributes }}>
      {{ product.description | split: '<!--split-->' | last }}
    </div>
  </div>
Step 7: Fine-tune the Layout
After implementing these changes, you may need to make some adjustments to ensure your product page looks balanced and visually appealing.
- Review the content in both description areas
- Adjust the split point if necessary
- Consider adding headings or formatting to improve readability
- Test on various screen sizes to ensure responsiveness
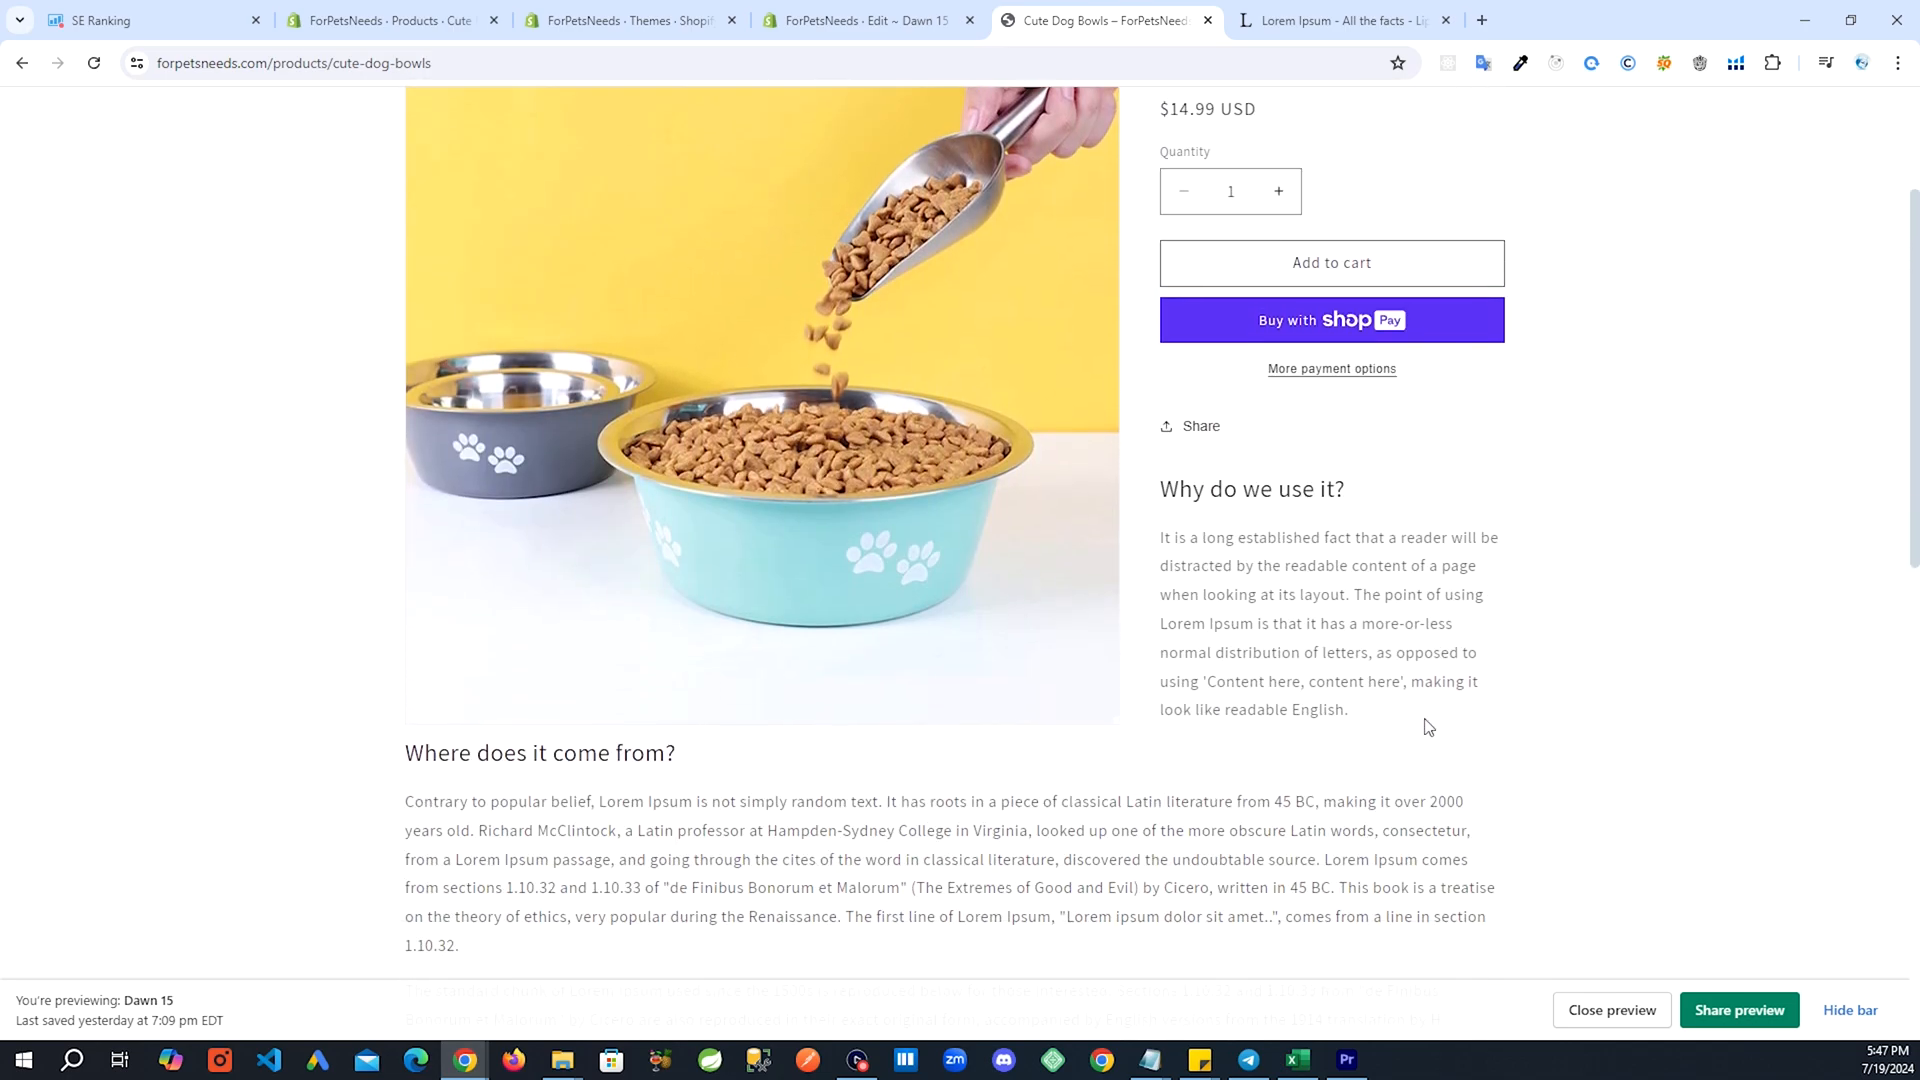
Conclusion: Enjoy Your New Product Page Layout
By following this tutorial, you’ve successfully learned how to move Shopify product description under image, creating a more flexible and potentially SEO-friendly product page layout. This approach allows you to maintain important information near the buy button while providing additional details in a more spacious area below the product image.
Remember, the key to a great product page is not just about where you place the description, but also about the quality and relevance of the content you provide. Use this new layout to your advantage by crafting compelling product descriptions that inform and persuade your customers.
As you continue to optimize your Shopify store, don’t be afraid to experiment with different layouts and content structures. The ability to customize your theme is one of the great advantages of using Shopify, so make the most of it to create a unique and effective online shopping experience for your customers.